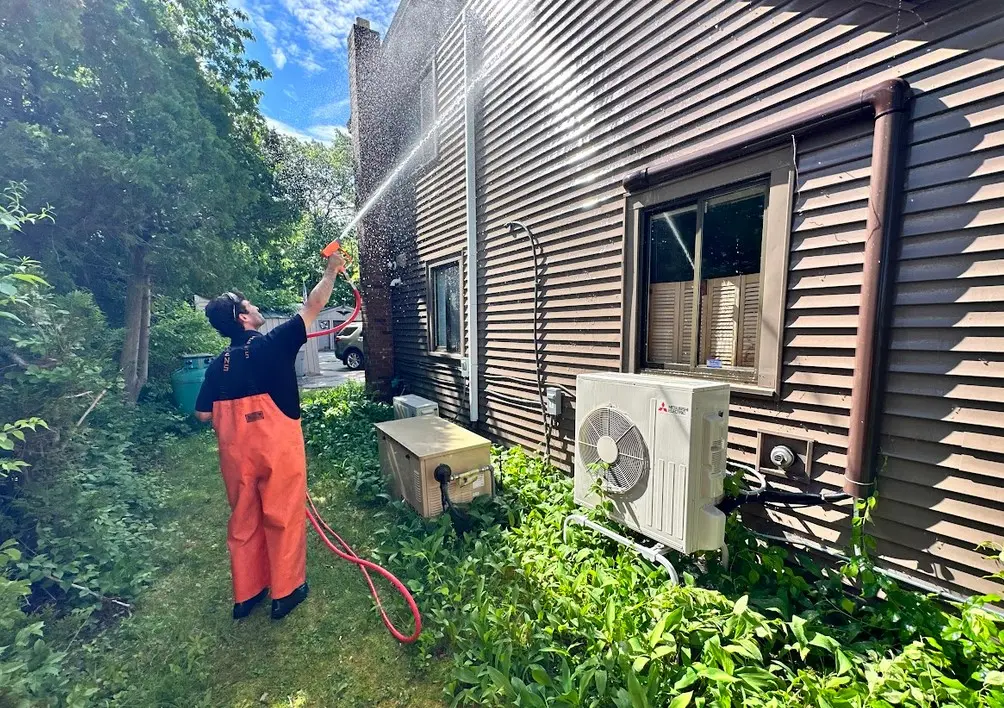
Yes - brick can be power washed safely, but only with low pressure, a fan-tip nozzle, and careful distance. If you use too much force, you can strip mortar, rough up brick, and push water into the wall.
Before you start, check for cracked brick, loose pavers, failed caulk, and crumbly mortar. Then use a 25° to 40° nozzle, stay about 12 to 24 inches back, and test a small hidden spot first. For most brick, the goal is a light rinse at about 100 to 400 PSI at the surface, not a hard blast.
Here’s the short version:
- Start low and increase only if the brick is sound
- Never use a 0° tip or turbo nozzle on brick
- Pre-wet, clean, then rinse
- Keep detergent wet for about 5 to 10 minutes
- Do not wash damaged brick or weak mortar
- Fix drainage or moisture issues if algae or white salt stains keep coming back
- In freeze-thaw weather, trapped water can expand by about 9% when it freezes, which can make cracks and flaking worse
A pressure washer can clean dirt, algae, mildew, and light surface buildup. But safe results depend on setup, spray angle, runoff control, and a post-wash check for damage.
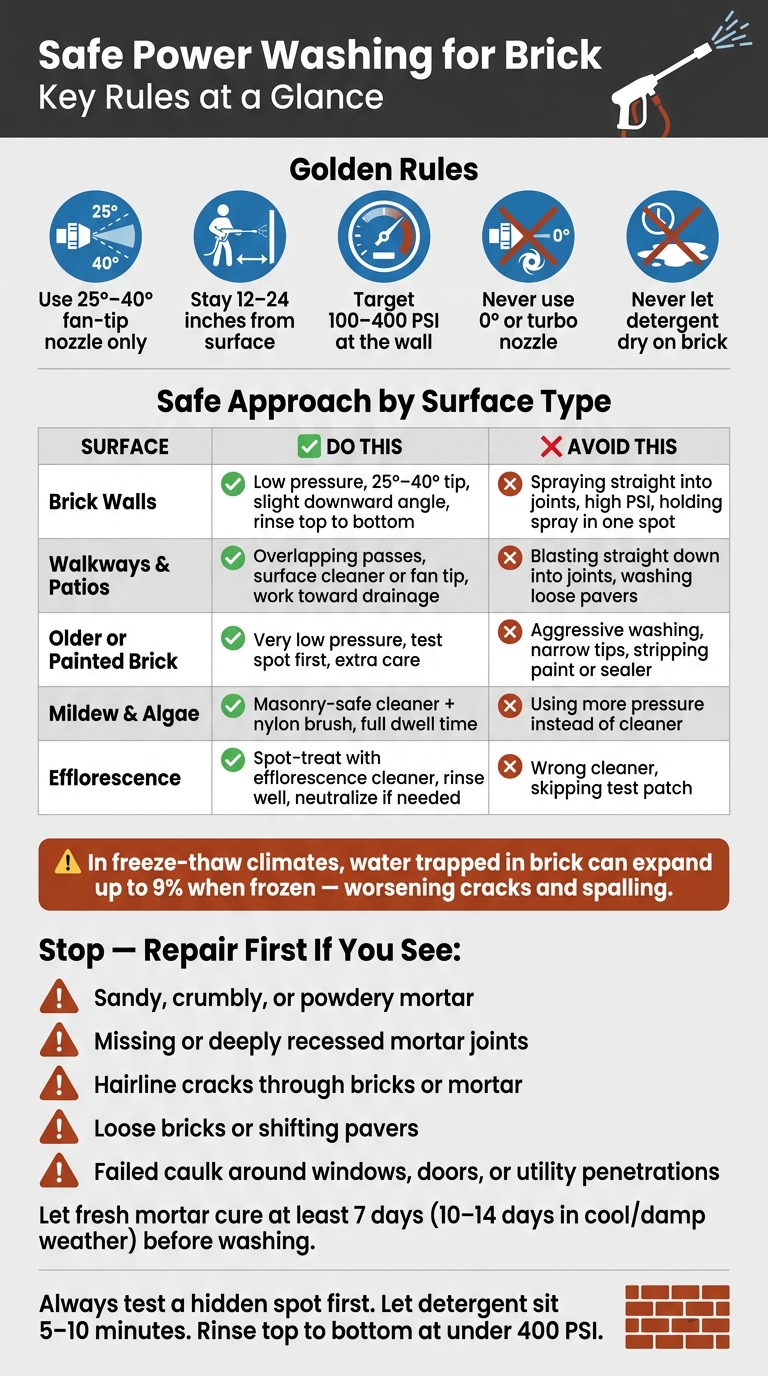
How to Safely Power Wash Brick: Surface-by-Surface Quick Guide
How to Clean and Pressure Wash Old, Filthy, Dirty Brick (Satisfying)
sbb-itb-238bf3c
Quick Comparison
| Area | Safe approach | What to avoid |
|---|---|---|
| Brick walls | Low pressure, 25°–40° tip, slight downward angle, rinse top to bottom | Spraying straight into joints, high PSI, holding spray in one spot |
| Walkways and patios | Overlapping passes, surface cleaner or fan tip, work toward drainage | Blasting straight down into joints, washing loose pavers |
| Older or painted brick | Very low pressure, test spot, extra care | Aggressive washing, narrow tips, stripping paint or sealer |
| Mildew and algae | Masonry-safe cleaner + nylon brush | Using more pressure instead of cleaner |
| Efflorescence | Spot-treat with efflorescence cleaner, rinse well | Using the wrong cleaner or skipping a test patch |
The rest of the article walks through the risks, tools, setup, cleaning steps, and what to check after the brick dries.
Know the risks of power washing brick before you start
Brick is tough, but it’s also porous. And mortar is often softer than the brick around it. That’s where trouble starts. If the pressure is too high, you can scar the face of the brick, wear away mortar, and make the wall more likely to take on moisture. The risk jumps when you use too much pressure or a narrow nozzle.
The Brick Industry Association warns that excessive pressure can damage brick surfaces, erode mortar joints, and remove finishes or coatings, sometimes causing permanent changes in appearance. Some damage doesn’t show up right away either. It may show up later, especially after wet-dry or freeze-thaw cycles.
Water can also get pushed where you don’t want it. A pressure washer may force water past caulk, flashing, weep holes, cracks, and joints around windows, doors, and foundations. Once that water gets into the wall cavity, you can end up with mold, rot, or stains inside the house.
Why pressure matters for brick and mortar
A lot of consumer pressure washers put out much more force than brick can handle safely. For brick, experts usually suggest low-pressure cleaning at about 100–400 PSI at the wall surface, and in some cases up to 400–800 PSI on sound modern brick.
That range matters because brick and mortar don’t react the same way to a tight spray pattern. A 0° or 15° tip can dig into older, softer mortar in one pass. Older homes need extra care since lime-based mortar is softer than the brick itself.
In places with freeze-thaw weather, the stakes get higher. Water driven deep into brick or mortar can freeze, expand by about 9%, and make cracking or spalling worse. If you notice those signs, stop there and fix the wall before washing.
When to hold off on washing until repairs are done
Before you start, check for warning signs like these:
- Sandy, crumbly, or powdery mortar
- Missing or deeply recessed joints, gaps between bricks, or cracking or separating tuckpointing
- Hairline cracks through bricks or mortar, especially near corners, above windows and doors, or along foundation lines
- Loose bricks or shifting pavers
- Failed caulk or gaps around windows, doors, hose bibs, or utility penetrations
If you spot any of them, handle the repairs first. Seal open gaps with caulk, repoint crumbling joints, and let fresh mortar cure for at least 7 days - or follow the product directions - before using pressure. In cool or damp weather, waiting 10 to 14 days is the safer move.
Painted, sealed, or older brick calls for extra care. High-pressure spray can strip paint, push water behind a failing sealer, or wear down soft historic brick faster than it removes grime. Many brick manufacturers and preservation groups discourage power washing on these surfaces or limit it to very low-pressure methods.
If the brick is sound, the next step is matching the pressure, nozzle, and cleaner to the surface.
Check the area and pick the right tools for brick
Once the brick passes inspection, clear the area and get your tools ready. Walk the surface and check for cracks, missing mortar, loose bricks or pavers, and any hollow-sounding or loose spots. On walkways and patios, look for sunken sections, wide gaps, or heaving caused by roots. Don't wash loose pavers, failing joints, or cracked mortar until those areas have been repaired and fully cured. Loose pavers, cracked joints, and hollow spots are no-go areas.
When the surface looks sound, sweep or blow away loose dirt, leaves, mulch, and gravel so that debris doesn't get forced into the joints. Move outdoor furniture, grills, and planters out of the spray path. Cover outlets, doorbells, and light fixtures with taped plastic sheeting, close nearby windows and doors, and keep children and pets indoors or well away from the work area.
Set the right pressure and choose the right nozzle
Start with the lowest pressure that gets the job done, then increase only if the brick still looks sound. Think of PSI as a limit, not a target.
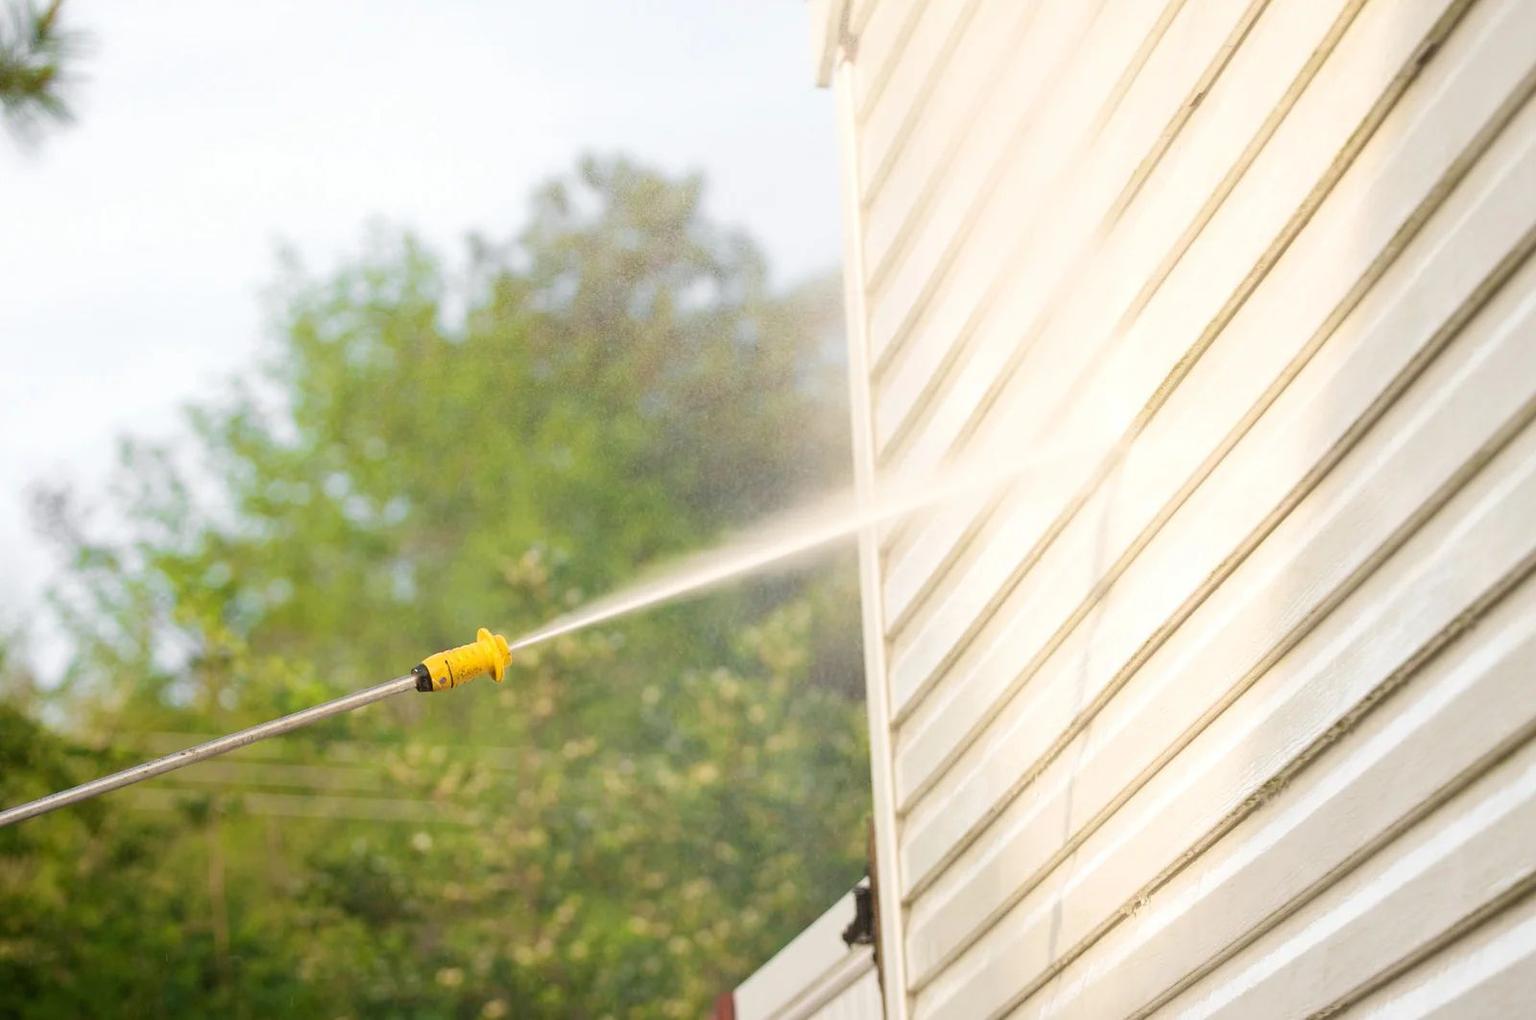
Use a 25° or 40° fan-tip nozzle. The 40° tip is the safer place to start, especially with older brick or surfaces you're not sure about. The 25° tip works better for tougher buildup on masonry that you know is in good shape. Skip 0° pinpoint nozzles and turbo/rotary nozzles. They can etch brick and wear away the joints.
Hold the wand about 12–18 inches from the surface. Angle it slightly downward or to the side so the water glances off the brick instead of hitting the joints head-on. Keep the wand moving the whole time, and test a small spot first in a hidden area. If the brick starts to look rough or the mortar begins to loosen, dial back the pressure or switch to a wider tip. If the test patch holds up, you can move on to a masonry-safe cleaner and a light rinse.
Choose masonry-safe detergents, brushes, and surface cleaners
Use cleaners labeled for brick or masonry, and check for pH-neutral on the label. Apply the cleaner with the soap setting or a low-pressure sprayer, let it sit for the time listed on the product, then rinse at your working pressure.
Stay away from muriatic acid, high-strength vinegar, and caustic degreasers that aren't rated for masonry. They can etch brick, damage mortar, and leave blotchy discoloration. For stubborn spots, use a stiff nylon brush after the cleaner has had time to dwell. Wire brushes can scratch brick and leave behind metal bits that may rust and stain later.
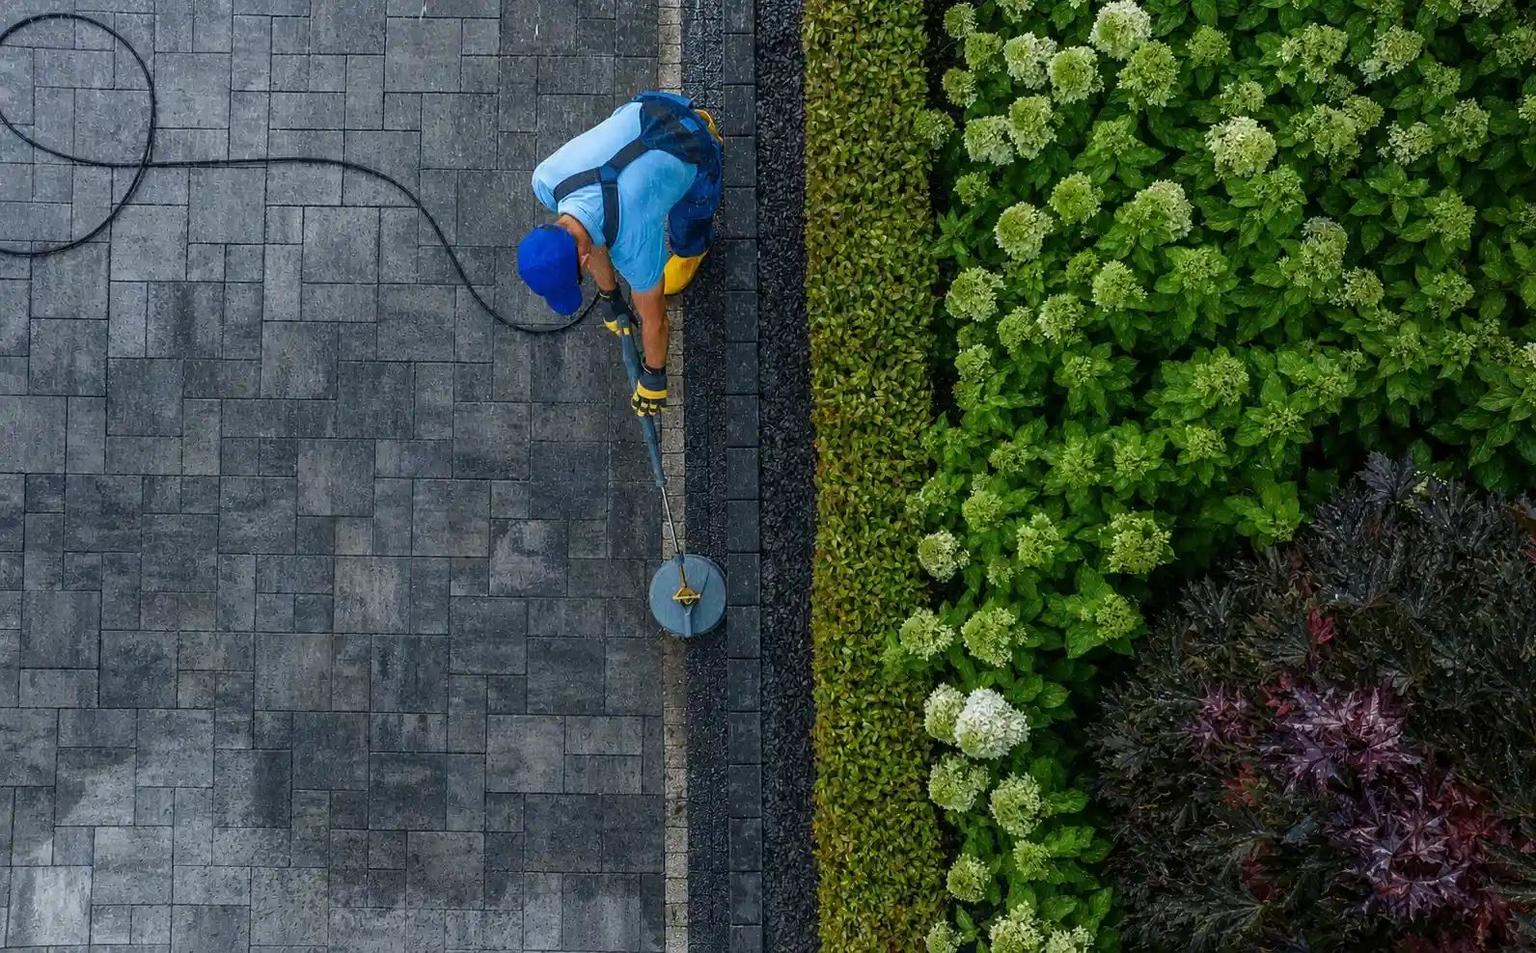
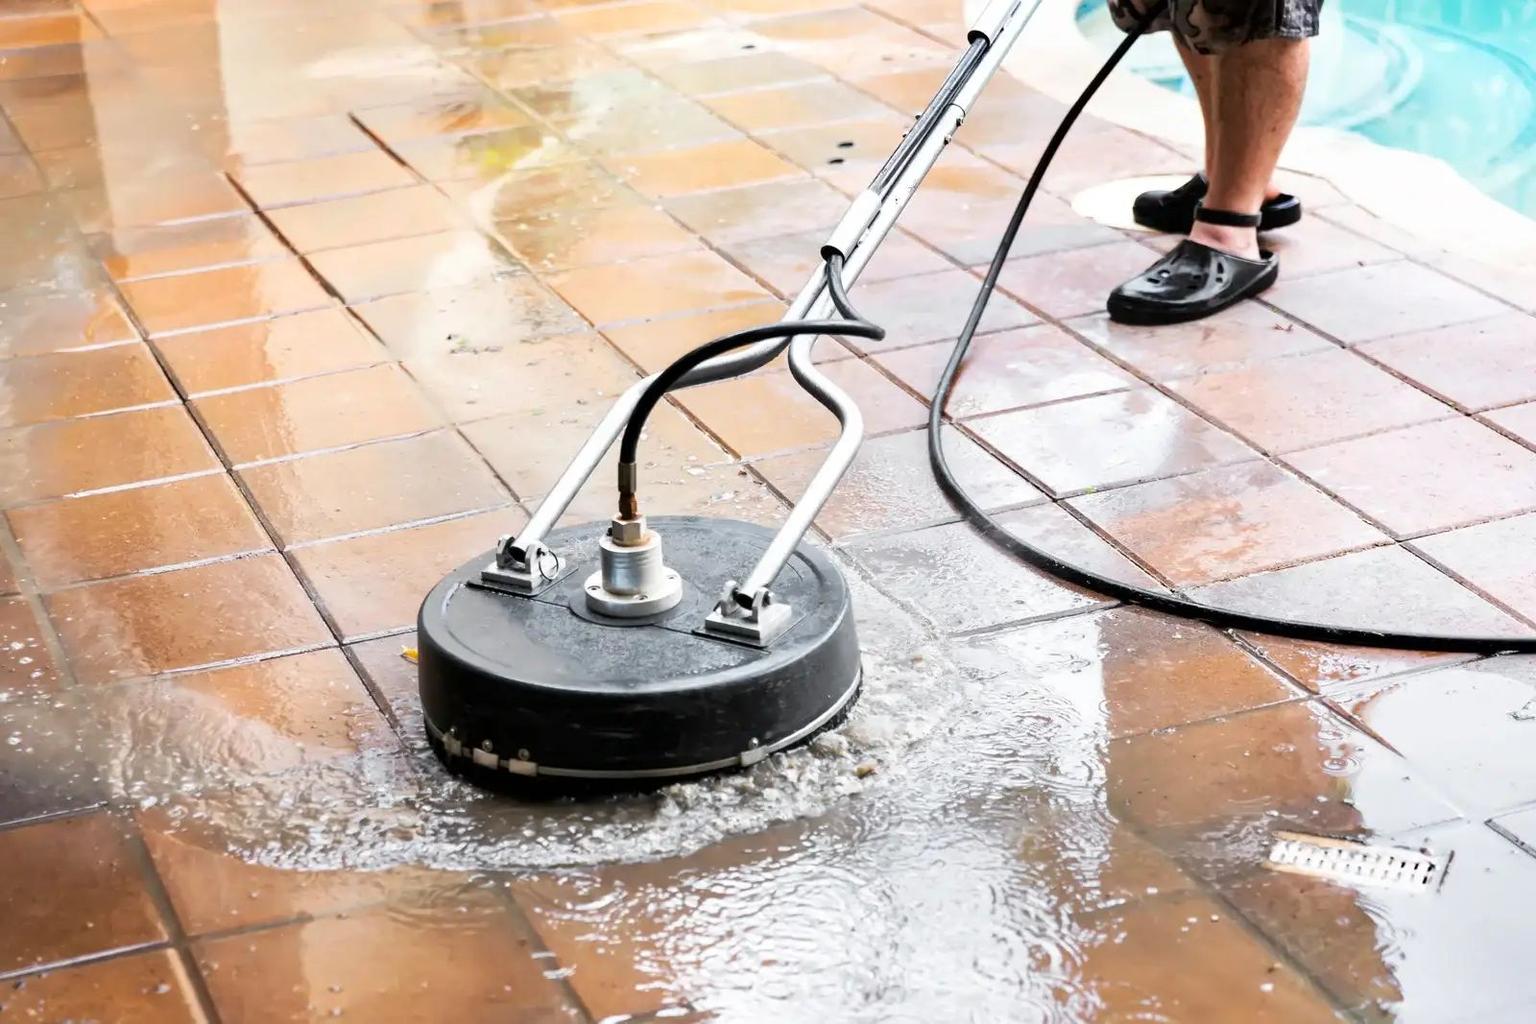
On flat walkways and patios, a surface cleaner can give you more even results. Its spinning arms hold a fixed distance and spread pressure across several bricks at once. That helps cut down on streaks and lowers the chance of blasting straight into the joints.
Set up the work area to avoid water and slip hazards
Before you start spraying, make the area safe. Check that the outlet powering your pressure washer is GFCI-protected, either through a built-in GFCI outlet or an in-line GFCI adapter. Use only outdoor-rated extension cords, and keep them away from standing water. Wear safety glasses or goggles, hearing protection, gloves, long pants, and non-slip closed-toe shoes or boots.
Plan where the runoff will go before you begin. Work from higher ground to lower ground so rinse water flows away from the house on its own. Aim the spray so water moves across the surface and off toward a lawn or drain, not toward foundation walls, window wells, or door thresholds. Near landscaping or loose soil along walkway edges, use a wider fan angle and lower pressure so you don't wash soil away. Watch for puddles near brick steps or at the base of walls, and adjust your spray angle before standing water turns into a moisture issue.
How to power wash brick walls and walkways step by step
Once the area is ready and you’ve picked the right nozzle, clean one section at a time. Stick with a low-pressure setup and follow a simple flow: water first, then detergent, then a full rinse.
Start by pre-wetting the brick with a garden hose or a low-pressure rinse. Then apply the cleaner while the surface is still damp. After that, let the detergent sit for the time listed on the label. In many cases, that’s about 5–10 minutes, though some products can sit for up to 20 minutes depending on the weather and surface conditions.
While it sits, keep an eye on the brick. If any area starts to dry out, wet it again. Never let detergent dry on the brick.
Wash brick walls with steady passes and a light spray angle
When applying detergent to a wall, work from the bottom up. That sounds backward at first, but it helps stop cleaner from running over dry brick below and leaving streaks or blotchy color. Keep your sections small, about 3–4 feet wide, so it’s easier to control dwell time and keep the wall damp.
When you’re ready to wash, keep the wand moving with steady horizontal passes and use a slight downward or side angle. Don’t park the spray in one place, and don’t aim straight at mortar joints. That’s where damage tends to happen fast.
After a section looks clean, rinse from top to bottom with a wider fan tip at low pressure. In most cases, under 400 PSI is enough if the cleaner has done the heavy lifting.
Use that same low-pressure method on flat brick too, but be even more careful around the joints.
Clean walkways and patios without washing out the joints
For walkways and patios, use a 25°–40° fan tip or a surface cleaner attachment. Move the nozzle in slow, overlapping sweeps instead of blasting straight down into the joints. Think of it like sweeping water across the surface, not drilling into it.
It also helps to work from the high side of the area toward the nearest drain or lawn edge. That way, rinse water carries dirt and debris away on its own.
Slow down around:
- Steps
- Uneven pavers
- Edges near the house foundation
These spots need extra care because concentrated spray can push water into gaps or knock joint material loose.
Handle mildew, algae, dirt buildup, and efflorescence the right way
If a stain won’t come off, change the cleaner, not the pressure. That’s the big rule here.
For mildew, algae, and stuck-on grime, use a brick-safe detergent labeled for organic growth. Let it sit for the full dwell time, then scrub problem spots with a stiff nylon brush before rinsing. Keep the pressure low and let the detergent do the work. If you crank up the pressure to blast growth away, you can wear down mortar and still leave live spores deep in the brick pores, which sets the stage for faster regrowth.
Efflorescence is a different animal. Those heavy white, crusty salt deposits usually won’t come off with standard brick detergent. You’ll need a cleaner made for efflorescence. Pre-wet the area first, then apply the cleaner only to the stained spots using low pressure or a brush. Follow the label closely for dilution and dwell time. Rinse well with low to moderate pressure, and neutralize the area if the product says to do that. Before treating a big area, test the cleaner in a small hidden spot to make sure it doesn’t change the brick’s color or texture.
Check the brick after washing and plan for regular upkeep
After the final rinse, you’re not quite done. Let the brick dry all the way before you move furniture back or call the job finished.
Look for damage, drainage problems, and recurring moisture signs
Once the surface is dry, inspect the brick in good light. Look for any marks the pressure washer may have left behind. Check for mortar erosion, loose brick, chipped edges, and new cracks. Pay close attention to areas near trim, window frames, door thresholds, and the foundation line. Those spots are often the first to show signs of water getting in.
It also helps to check how water moved across the area. Look for pooling water that didn’t drain away or low spots on walkways where water is still sitting. If algae or efflorescence comes back fast in the same places, trapped moisture or poor drainage is the likely cause. When that keeps happening, deal with the drainage issue or leak source before the next wash.
Keep up with regular light cleanings
Light cleanings on a regular schedule help stop heavy buildup before it starts. That matters because thick grime often leads people to use more pressure than brick can handle.
A simple plan works well: clean brick once a year, or twice in spots that collect more buildup. Spring is a good time for a yearly cleaning after winter salt and grime. A light fall cleaning can clear away leaves and pine needles before they hold moisture or leave stains on the brick. Companies like ViewCrew Services build this kind of seasonal schedule into their brick cleaning work, since catching buildup early means less pressure is needed to remove it.
FAQs
Can I power wash old brick safely?
Yes, but how you wash brick makes a big difference.
High-pressure washing can etch the brick, wear down mortar, and push water into joints and small cracks. That can set you up for problems later.
A safer option is soft washing. It uses low pressure - usually under 500 PSI - along with cleaning solutions made for brick. Test a small, hidden spot first to make sure the surface reacts well. If you want to play it safe, bring in a professional to help protect the brick.
What PSI is too high for brick?
For brick, anything above 500 PSI is usually too much. At that point, you run the risk of damaging the surface.
High-pressure washing in the 1,500–4,000 PSI range can etch the brick, wear down mortar, and push water into joints and cracks. That’s where small cleaning mistakes can turn into repair bills.
A safer range is 100–400 PSI. In most cases, soft washing - which uses under 500 PSI - is the better choice for removing mold and algae without causing long-term damage.
When should I call a pro instead?
Consider bringing in a pro for big jobs, stubborn stains, or tricky spots near delicate landscaping that may need specialized soft washing.
A professional service can also lower the risk of property damage, including water intrusion, surface etching, or structural harm from the wrong pressure settings. Hiring a licensed and insured contractor adds a layer of protection for your home through liability coverage.