If you paint before washing, your paint can fail years early.
Before exterior painting, you should clean off dirt, chalking, mildew, pollen, salt, algae, sap, and loose paint. The surface also needs to be dry and solid, because paint does not bond well to dust, grime, or damp siding. In many cases, a bad prep job can cut paint life down to 3 to 4 years, while solid prep can help it last 7 to 10 years.
Here's the short answer:
- Yes, most exteriors should be washed before painting
- Low pressure house washing is safer for siding, stucco, and wood
- Brick can handle more pressure than softer materials
- Dry time matters: wait at least 24 to 48 hours, and longer in humid weather or on bare wood
- Do not paint if moisture is above 15% on wood or siding
- DIY works for small, easy areas
- Hire a pro for tall homes, fragile surfaces, or heavy mold and algae
A clean surface is only part of the job. You also need the right pressure, enough drying time, and a surface that is ready for primer, not just one that looks clean.
Why Power Washing Your House Before Painting Is a Game Changer!
sbb-itb-238bf3c
Which Exterior Surfaces Need Washing Before Painting
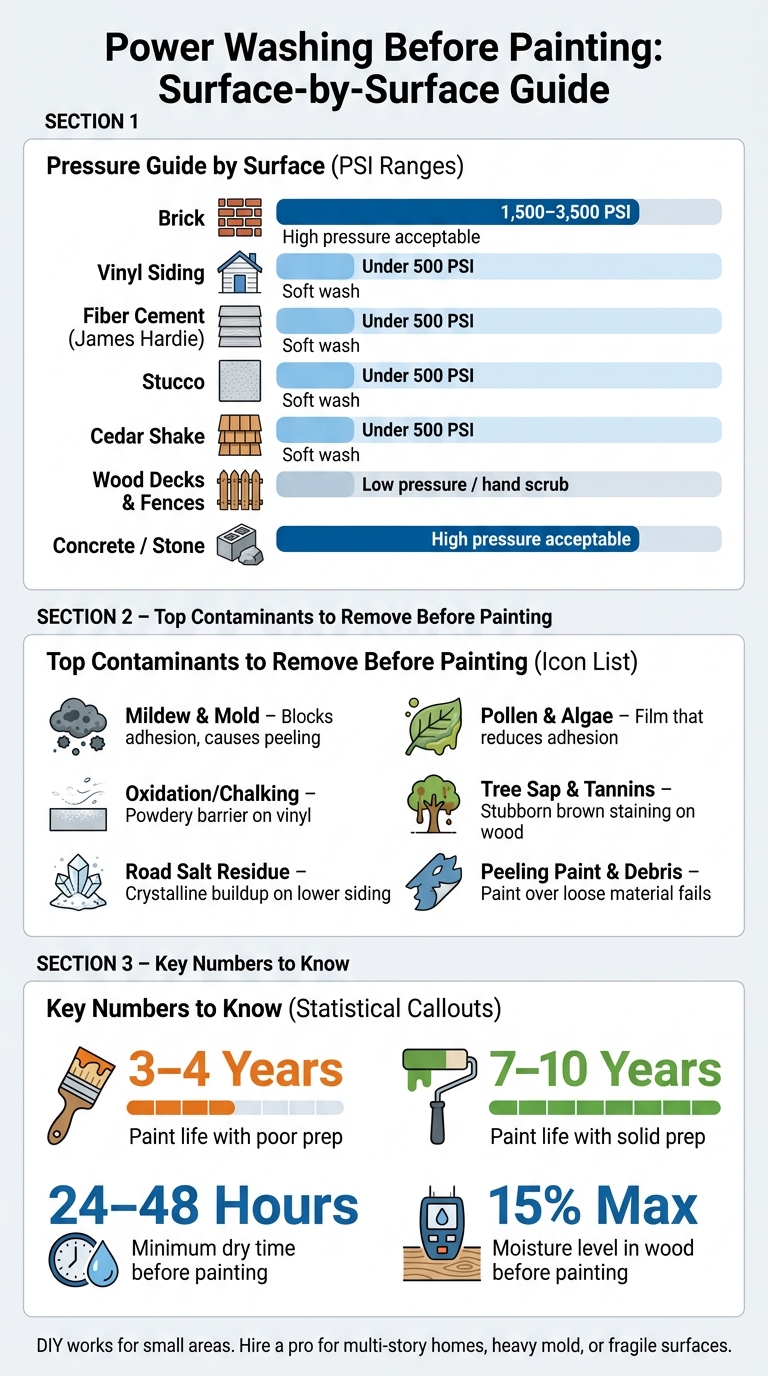
Power Washing Before Painting: Surface Guide & Pressure Chart
Vinyl siding, brick, and stucco don’t get dirty in the same way. Each one holds onto different grime, and each one needs a different cleaning approach before paint goes on. Use too much pressure, and you can scar the surface instead of helping it. Use too little, and the dirt, salt, algae, or chalky residue stays put.
That’s the core issue: paint won’t stick well to buildup. So before painting starts, that layer has to go. The method depends on the material, especially for siding, brick, stucco, and exterior wood.
Siding, Brick, and Stucco
Vinyl, fiber cement like James Hardie, painted wood, cedar shake, and stucco all collect the kind of grime that gets in the way of paint adhesion. In New England, that can mean salt air on coastal homes. Homes near Routes 128 and 495 may also pick up winter road salt residue, especially along the lower courses of siding. In wooded spots, pine sap and algae are common too.
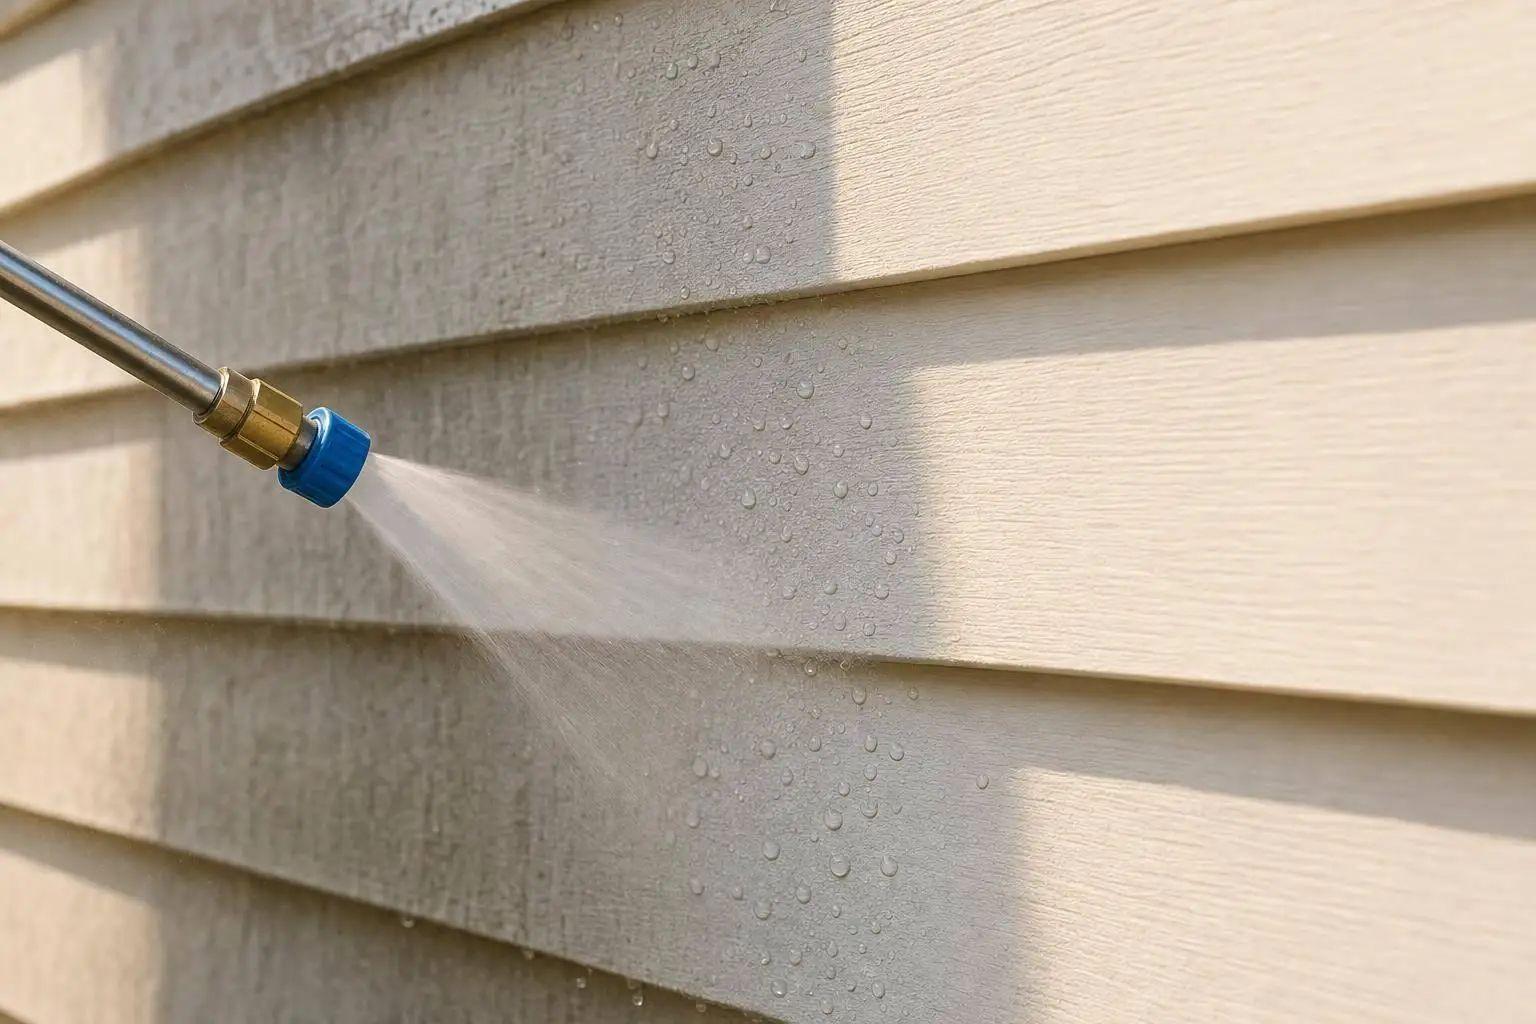
Brick can usually take more pressure, often in the 1,500 to 3,500 PSI range. Stucco and siding need a gentler approach, so soft washing under 500 PSI is usually the better fit. Soft washing works well on more delicate surfaces because it relies on low pressure and cleaning solution instead of brute force.
Fences, Decks, and Exterior Wood
Wood calls for even more care than brick or siding. Fences, railings, and decks tend to hold moisture and organic growth, which makes them prime spots for staining and surface issues. High pressure can gouge the wood fibers, so soft washing or low-pressure rinsing is usually the safer move.
Leaves should also be cleared off fast. If they sit too long, tannins can stain both wood and stone.
Contaminants That Must Be Removed Before Painting
Before painting, the main surface contaminants to remove include mildew and mold, oxidation on vinyl siding, road salt residue, pollen, algae, tree sap, tannins, peeling paint, and loose debris.
| Contaminant | Where It Shows Up | Why It Matters for Paint |
|---|---|---|
| Mildew & mold | Shaded siding, north-facing walls, wood | Blocks adhesion and causes peeling |
| Oxidation (chalking) | Vinyl siding, older painted surfaces | Powdery barrier that prevents bonding |
| Road salt residue | Lower siding, foundation walls | Crystalline buildup that must be removed |
| Pollen & algae | Exterior siding and trim | Film that reduces adhesion |
| Tree sap & tannins | Wood decks, fences near trees | Causes stubborn brown staining |
| Peeling paint & loose debris | Any previously painted surface | Paint over loose material fails |
Loose dirt and debris matter too. If anything sits between the paint and the substrate, adhesion suffers. Once you know what surface you’re dealing with and what’s stuck to it, you can choose the right equipment and pressure for the job.
How to Power Wash Safely and Prepare the Area
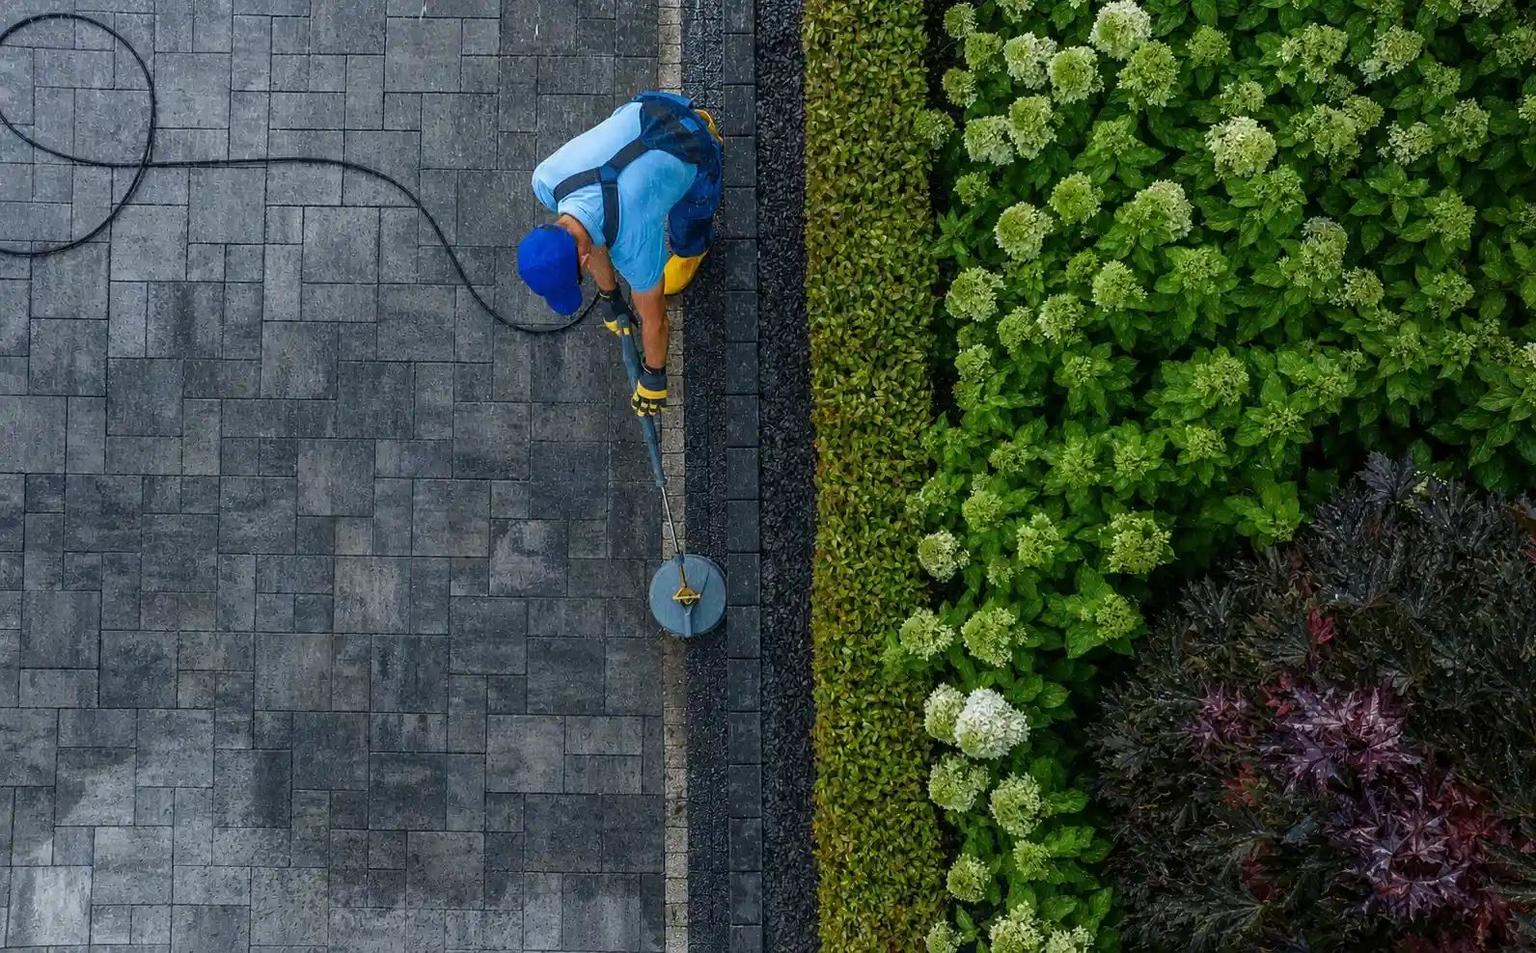
Start with a full inspection. Then clean the surface in a way that removes grime without pushing water behind siding or damaging wood or stucco. The goal is simple: pick the right tools and the right cleaning method before paint prep starts.
Basic Equipment and Cleaning Supplies
For most exterior prep work before painting, you’ll need either a pressure washer or a soft wash system, plus a cleaning solution that fits the surface. When you can, use eco-friendly products, and cover nearby landscaping before cleaning. For painted or delicate surfaces, stick with a low-pressure setup.
A Safe Washing Sequence From Inspection to Drying
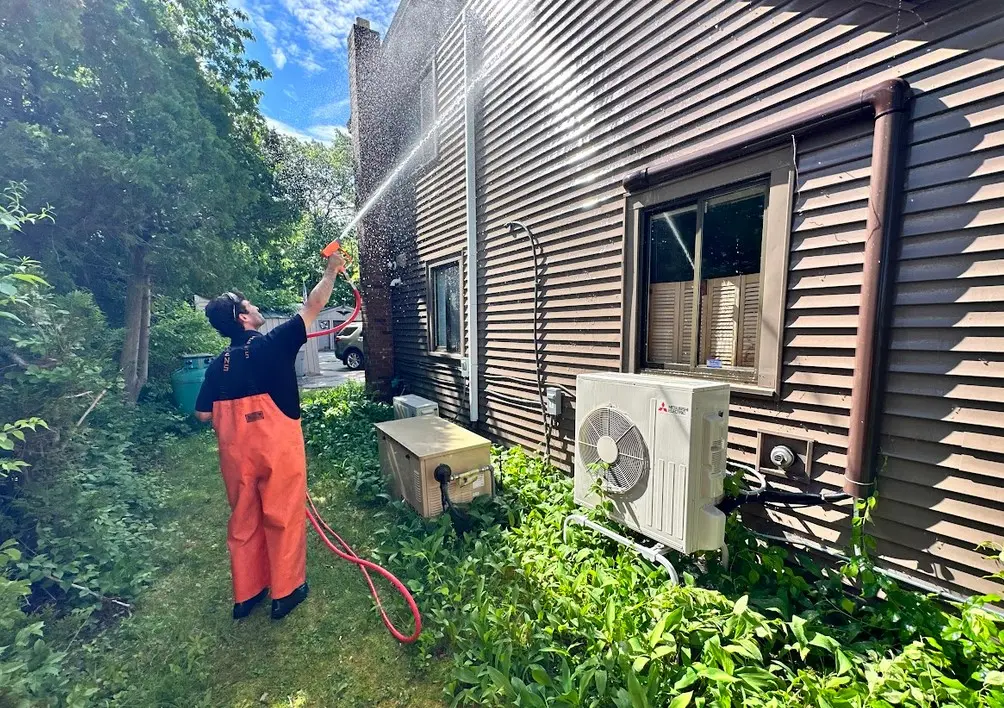
Inspect the exterior first, protect plants and nearby finishes, and clean problem areas before the rest. Watch for mold, algae, lichen, bird droppings, and road salt residue so you know where extra cleaning may be needed.
Follow this sequence:
- Apply cleaner to areas with mildew, algae, or heavy grime.
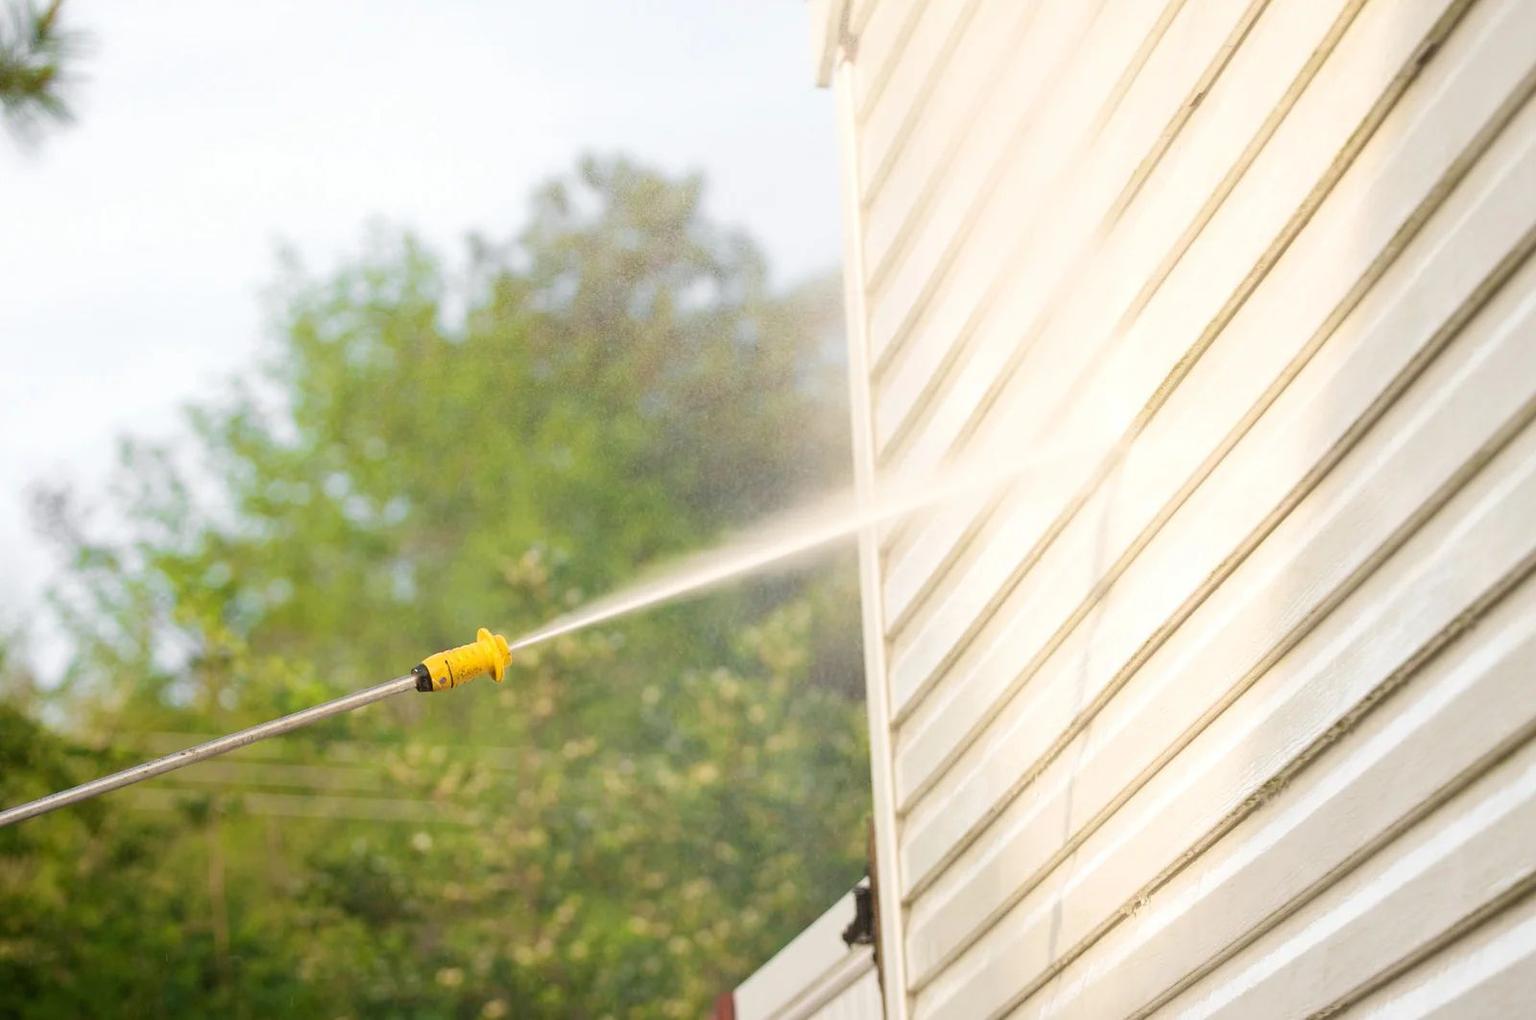
- Rinse at low pressure to wash away loosened dirt and growth without forcing water into weak spots.
- Let the surface dry completely before scraping, sanding, caulking, or priming.
Once the surface is clean and dry, you can move on to repair and priming.
How to Avoid Pressure Washing Damage
Most damage happens when the pressure is too high for the surface. That can strip paint or drive water into places it shouldn’t go.
Match the pressure and nozzle distance to the material you’re cleaning. Use a gentler approach on siding, wood, stucco, and other painted exteriors, and save higher pressure for hard surfaces like concrete or stone. If a surface seems fragile, hand cleaning or professional prep is the safer move.
Hand Cleaning vs. Hiring a Professional: How to Decide
Not every surface can take high pressure. The safest move is to use the least aggressive method that still removes the buildup without harming the material. In practice, the choice usually comes down to three things: the surface itself, how easy it is to reach, and how much grime is stuck on it.
When Soft Washing or Hand Scrubbing Is the Safer Option
Fragile or worn surfaces need a gentler touch. Soft washing uses under 500 PSI plus cleaning solutions made for the job, which makes it a safer pick for vinyl siding, wood, stucco, cedar shake siding, and weathered painted wood. Hand scrubbing is the better route for trim, corners, window frames, and cracked caulk, where even low pressure can cause problems.
When a Homeowner Can Handle the Prep
If the area is small, easy to reach, and only has light buildup, a homeowner may be able to handle the prep with low pressure or hand cleaning. This works best when access is simple and you already know how to use the equipment.
Watch the surface as you work. If it starts to fuzz, chip, or soak up water, stop right there. That means the surface is not ready for primer.
When to Hire a Professional for Exterior Cleaning
Some jobs are better left to a pro from the start. That includes multi-story homes, heavy algae or mold, cedar shake, and any surface where water could get in and cause damage.
Tall surfaces, fragile materials, and deep soiling leave less room for trial and error. In those cases, hiring a professional is often the safer call.
Conclusion: Clean First for Better Paint Results
Every exterior paint job starts with the surface underneath. Paint sticks best when that surface is clean, dry, and sound. If dirt, chalk, mildew, or grime is still there, the paint ends up bonding to that mess instead of the siding itself.
That idea holds up across every exterior surface. The key is matching the pressure to the material. Brick and fiber cement can handle more force than wood, stucco, or older siding. There isn't one pressure setting that works for every job. Push it too hard, and you can gouge wood, wear away mortar, or force water behind panels. That's the kind of prep mistake that can show up later as paint failure.
Drying time also matters after washing. Plan for at least 24–48 hours in warm, dry weather, and give it more time for bare wood or humid conditions. Paint over a damp surface, and you trap moisture underneath. That can lead to blistering and early peeling.
For small, easy-to-reach areas with light dirt, DIY prep can work fine. For multi-story homes, delicate materials, or heavy mold and algae, it makes more sense to bring in a professional. A exterior cleaning company like ViewCrew Services adjusts pressure by material rather than running one setting across the whole house, which is exactly the distinction this article is built on. Clean first, and the paint has a surface worth sticking to.
FAQs
Do I need to wash every exterior before painting?
Yes. Washing exterior surfaces before painting helps paint stick better, gives you a cleaner finish, and helps the paint job last longer.
For delicate surfaces like siding, stucco, and wood, use soft washing with low pressure, under 500 PSI. Tougher surfaces like concrete can handle more pressure. If you’re not sure what the surface can take, professional cleaning is a smart call.
How can I tell if the surface is dry enough to paint?
Sprinkle a little water on the surface. If it soaks in right away, the surface is dry enough to paint.
In most cases, wait 24 to 48 hours after cleaning before painting. Give it 48 to 72 hours in shady spots or when humidity is high. The best conditions for painting are 50°F to 85°F with humidity below 60%.
What surfaces are too delicate to pressure wash?
Many exterior surfaces are just too delicate for standard pressure washing. In those cases, soft washing is the better fit.
This applies to roof shingles, vinyl siding, wood and cedar shake siding, stucco, painted exteriors, gutters, windows, screens, wood decks and fences, plus clay tile and slate.
Why does this matter? Because high pressure can do expensive damage fast. It can lead to granule loss, seal failure, fiber damage, cracking, and other repairs you don’t want to deal with.