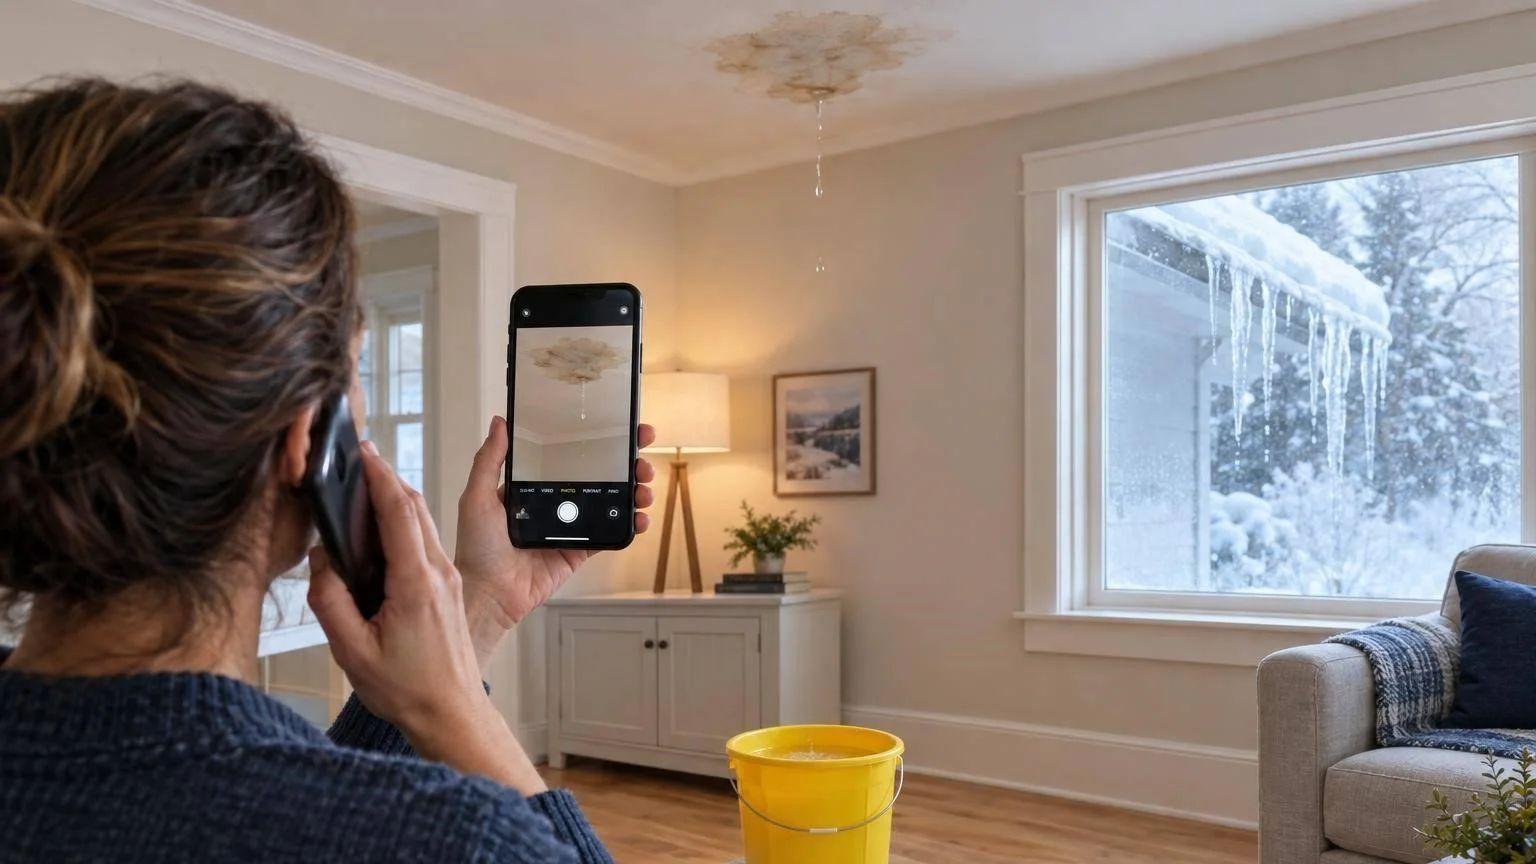
If an ice dam is leaking into your home, put safety first and stay off the roof. In the first hour, stay clear of wet electrical fixtures, protect belongings if safe, and photograph the damage without delaying urgent action.
Your next steps:
- Call your insurer to check coverage, approval requirements, and your deductible. Keep photos, notes, and receipts in one claim folder.
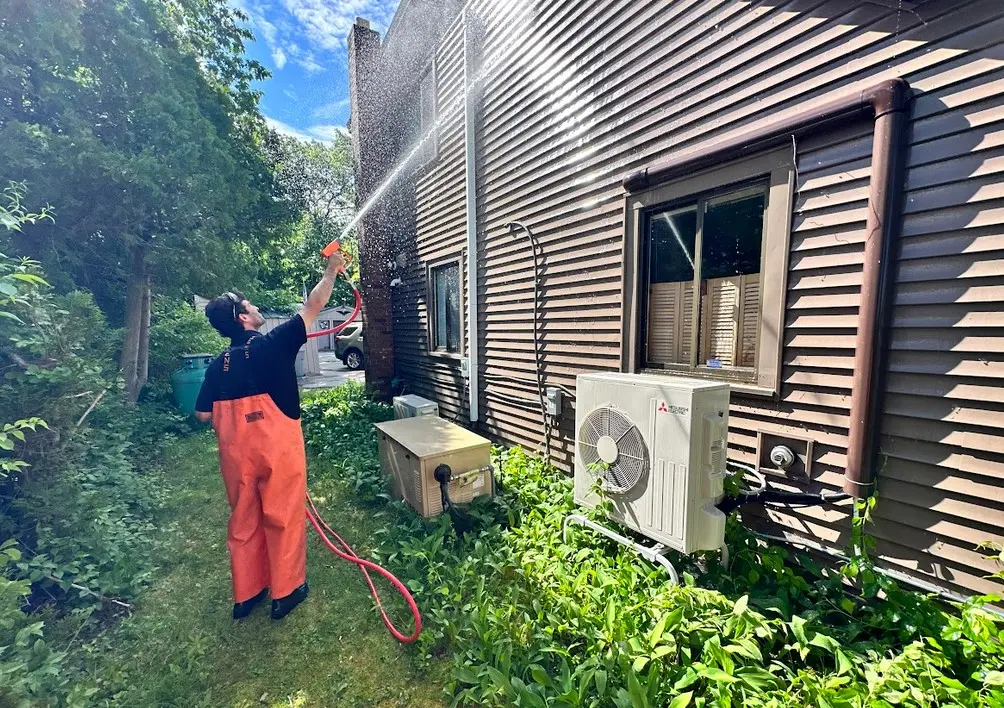
- Arrange professional ice dam removal with low-pressure steam to clear blocked roof drainage. Never climb an icy roof.
- Get roof and moisture checks. Ice removal does not repair damaged shingles, wet insulation, or ceilings, and another roof defect may keep leaking.
- Plan prevention by having attic air leaks, insulation, ventilation, and drainage checked. See ice dam prevention for New England roofs for the order of repairs.
Use the steps below to handle the leak, document your claim, and arrange repairs.
What to Do in the First Hour
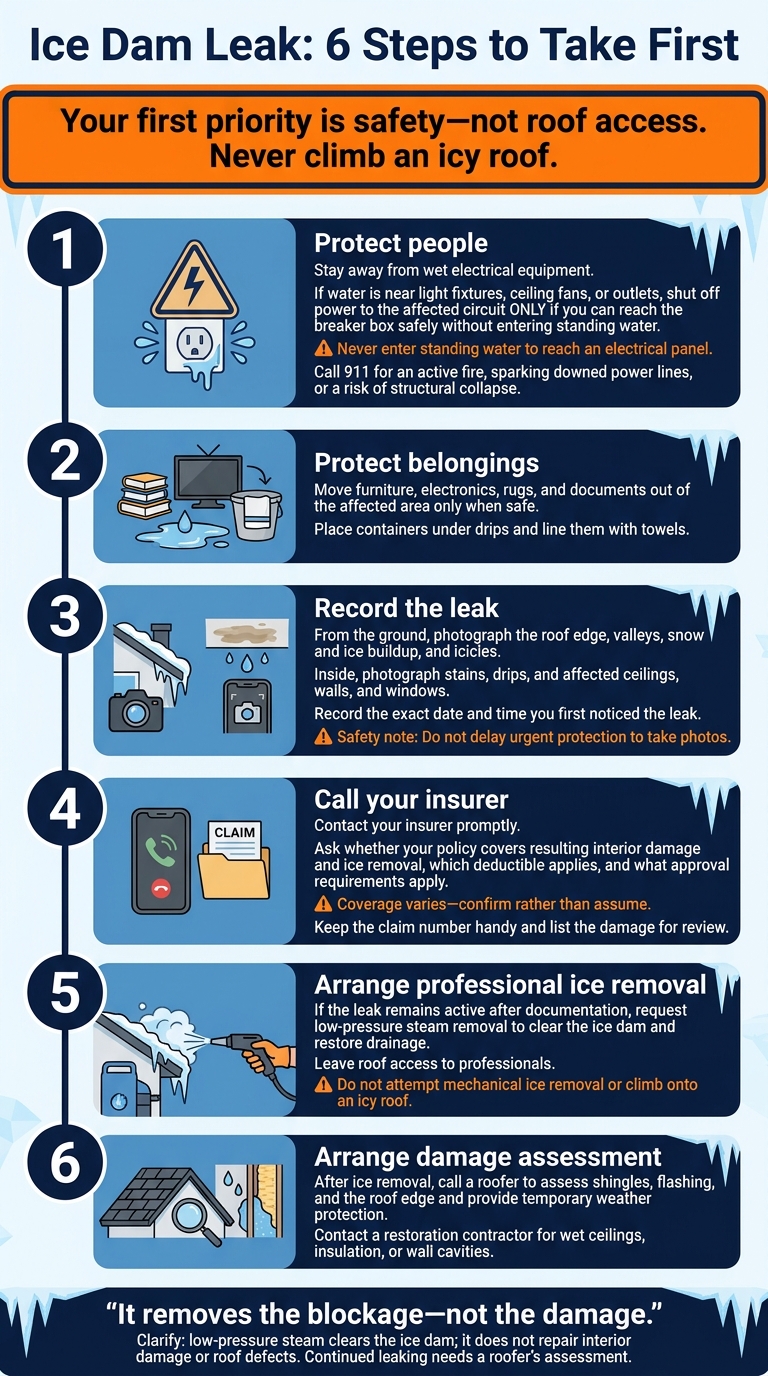
Ice Dam Leak: 6 Steps to Take First
Steps 1–2: Protect People and Belongings
Follow Red Cross flood-safety guidance. Stay away from wet electrical equipment. If water is near light fixtures, ceiling fans, or outlets, shut off power to the affected circuit ONLY if you can reach the breaker box safely without entering standing water. Never enter standing water to reach an electrical panel. Call 911 if there’s an active fire, sparking downed power lines, or a risk of structural collapse.
Move belongings only when it’s safe. Get furniture, electronics, rugs, and documents out of the affected area if you can do so safely. Place containers under drips and line them with towels.
Steps 3–4: Record the Leak and Call Your Insurer
Document the leak from a safe distance. From the ground, photograph the roof edge, valleys, snow and ice buildup, and icicles. Inside, photograph every stain, drip, and affected ceiling, wall, and window. Write down the exact date and time you first noticed the leak.
Contact your insurer promptly. Ask whether your policy covers the resulting interior damage and ice removal, and which deductible applies. Coverage varies, so confirm the details rather than assuming you’re covered. Keep your claim number handy, then list the damage your insurer will need to review.
Steps 5–6: Arrange Ice Removal and Damage Assessment
Request low-pressure steam removal. If the leak is still active after you document it, request low-pressure steam removal to clear the ice dam and stop the source of the leak. Leave roof access to professionals. Don’t attempt mechanical ice removal or climb onto an icy roof.
Arrange follow-up help right away. After ice removal, call a roofer to assess the shingles, flashing, and roof edge and provide temporary weather protection. Contact a restoration contractor to address wet ceilings, insulation, or wall cavities. Removing the ice stops the water source, but it doesn’t repair interior damage.
sbb-itb-238bf3c
What to Document for Your Insurer
Keep photos, videos, notes, and receipts in one claim folder, with each file labeled by room and date. Photograph belongings before moving them, but don’t delay urgent protection to get a photo. A quick video walkthrough can show active dripping that still photos miss. As conditions change, update your notes with the discovery time, weather, affected rooms, drip patterns, and spreading stains.
Create a room-by-room inventory of damaged items. Attach receipts or proof of purchase to each entry. Keep emergency receipts, contractor findings, estimates, and invoices together, with separate categories for ice removal, roof work, interior restoration, and upgrades.
Ask contractors for moisture readings, drying logs, and removal records. If they open a wall or ceiling, request photos of the framing and insulation before they close it. Those photos can document damage that finished surfaces would hide.
Check coverage and approval requirements with your insurer. Policies vary, so ask specifically about steam removal, emergency mitigation, and any moisture map or similar records they need. Confirm which emergency work can begin right away and which work requires prior approval. Save the insurer’s written instructions in your claim folder, and keep ice removal records separate from interior repair records.
What Steam Removal Fixes - and What It Does Not
Low-pressure steam clears the ice dam and restores drainage at the roof edge. It removes the blockage - not the damage. It won’t repair ceilings, insulation, shingles, or other areas damaged by leaks.
For process details, see How Ice Dam Removal Works in New England.
When to Call a Roofer
Call a roofer if shingles, flashing, or decking look damaged, or if leaking continues after the ice dam is removed.
When to Call a Restoration Contractor
Call a restoration contractor if drywall, insulation, or flooring is wet, or if you suspect hidden moisture.
Plan Prevention and Review Removal Costs
Once the immediate leak is under control, schedule a professional assessment of attic air leakage, insulation, ventilation, and roof drainage. Removing ice doesn’t fix the heat loss that can cause the dam to return.
For prevention tips and pricing details, see Preparing Your Massachusetts Property for Winter and Ice Dam Removal Cost in Massachusetts: What to Expect.
Conclusion: Remove the Ice to Stop the Water Source
After documenting the leak, contact your insurer promptly to confirm coverage for ice removal and interior damage.
Ice dam removal clears the blockage and stops the leak at its source. It does not repair ceilings, insulation, or shingles, so have a restoration contractor check for hidden moisture and a roofer assess persistent leaks or roof defects. Once the water stops, address the attic heat loss behind the dam, and see ice dam prevention for New England roofs for the repairs that reduce the risk of another one.
ViewCrew Services uses insured crews and low-pressure steam for ice dam removal, and it answers storm calls days, nights, and weekends across the Merrimack Valley and MetroWest.
FAQs
How can I tell if an ice dam is causing my leak?
Check for water stains or leaks high on exterior walls, at the tops of windows, or on ceilings near an outside wall. Thick ice or icicles along the roof edge directly above those spots suggest an ice dam is causing the problem.
You may also see water running down interior walls or pooling behind a ridge of ice. Professional ice dam removal is needed to stop water from getting in.
Can hidden ice dam damage appear after the leak stops?
Yes. Water can stay trapped even after the dripping stops, including in attic insulation, wall cavities, and ceilings. A ceiling stain may show where water ended up, but other areas can still be wet without any visible damage. If that moisture isn’t addressed, it can lead to mold and rot.
Schedule a professional water damage assessment to find hidden moisture and make sure the affected areas are properly dried.
Can an ice dam return after steam removal?
Yes. Steam removal opens drainage paths and stops active water intrusion, but it doesn’t fix the underlying causes. Ice dams form when warm air leaks into the attic and melts snow on the roof. That meltwater then refreezes at the cold eaves.
After winter, address heat loss, poor insulation, and inadequate attic ventilation to reduce the risk of ice dams returning.