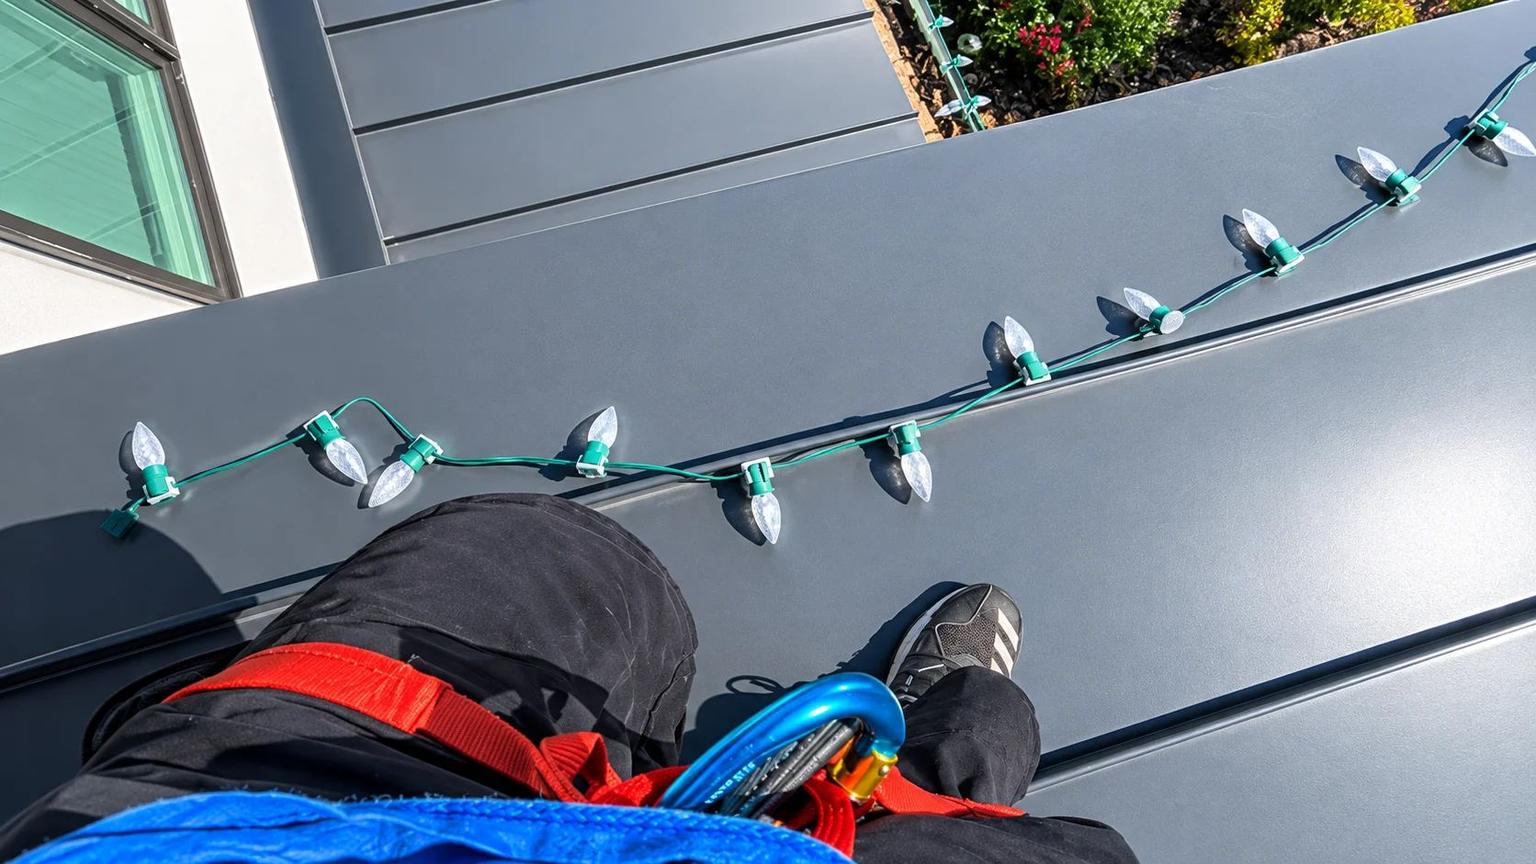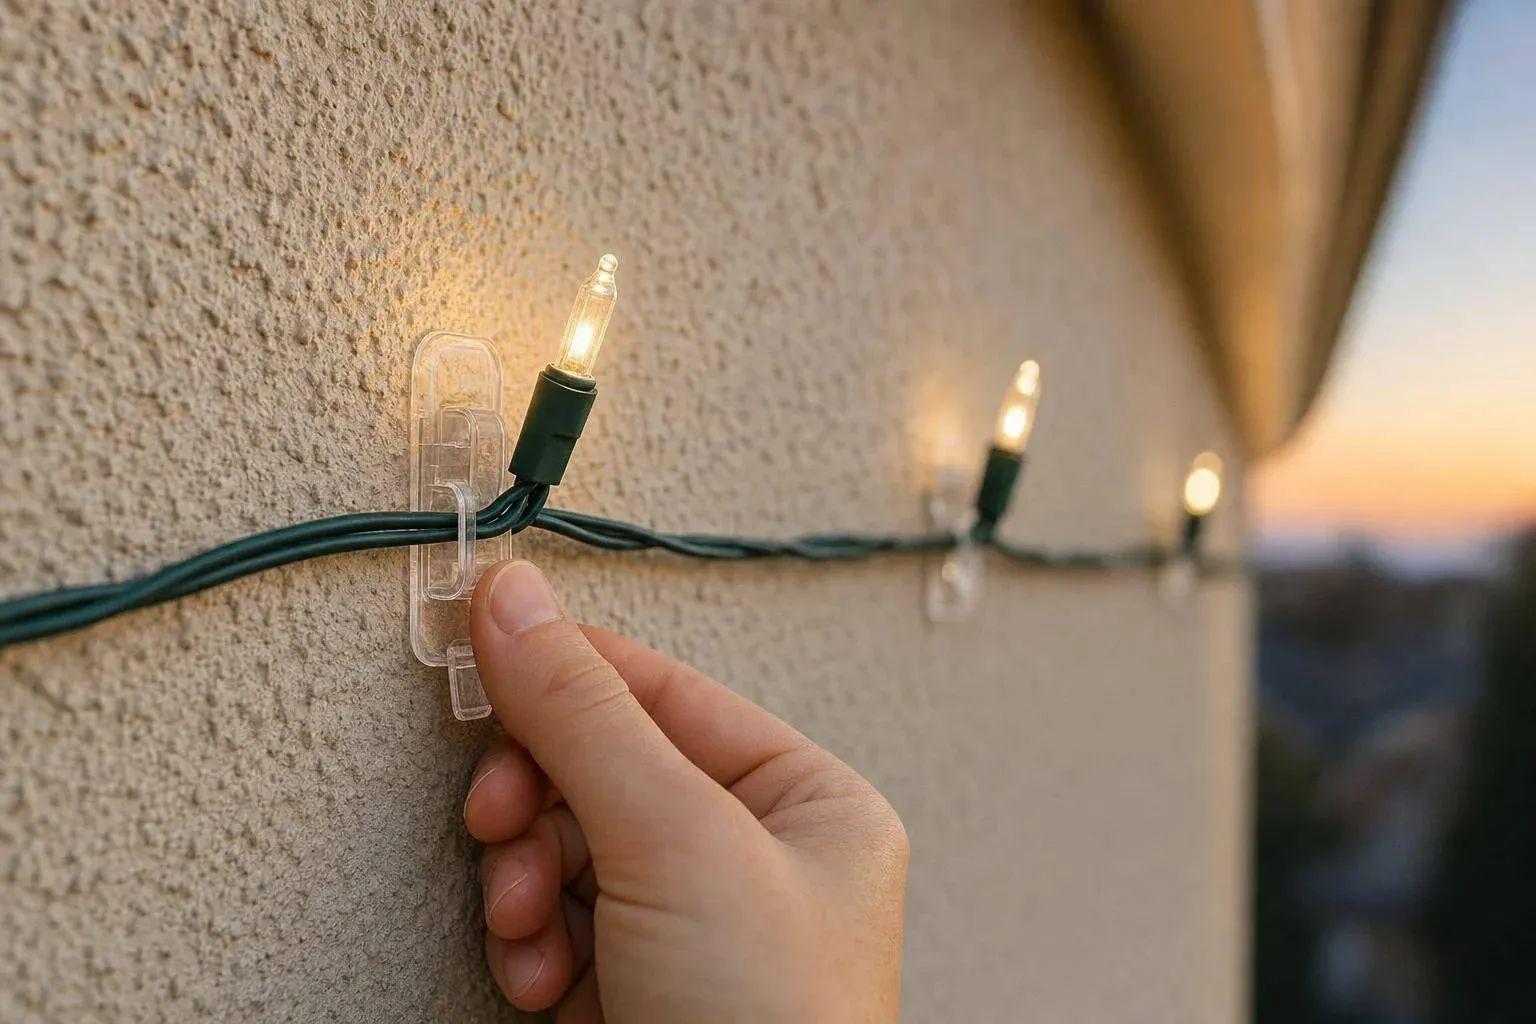
Yes - you can hang Christmas lights on stucco without damage if you skip drilling and use the right no-hole mount.
Stucco can crack, chip, or let water in if lights are attached the wrong way. The safe options are simple: use outdoor adhesive clips on flatter areas, stucco or brick clips on edges like trim or ledges, and keep lightweight LED strands and outdoor-rated cords from pulling on the surface. For many homes, LEDs also use about 75% less energy than incandescent bulbs, which helps cut load on clips and power use at the same time.
Here’s the short answer:
- Do not drill into stucco
- Do not stick lights straight to the wall
- Use clips that match the surface
- Plan the route before climbing the ladder
- Test each section as you go
- Remove clips slowly after the season
| Mounting option | Best place to use it | Main watchout |
|---|---|---|
| Outdoor adhesive clips | Flat or smoother stucco spots | Needs a clean surface |
| Stucco or brick clips | Trim, seams, ledges, parapets | Needs an edge to grip |
| Hot glue on a mounting point | Short-term use in small spots | Remove with care |
The goal is simple: keep pressure off the stucco and keep moisture out. The rest of the article walks through the safest setup, the best clip choice for each area, and how to put lights up and take them down with less risk.
THREE SECRET WAYS of Hanging Christmas Lights on Stucco!
sbb-itb-238bf3c
Choose the Right Mounting Method for Your Stucco Surface
Pick a mounting method that holds in place without cracking, chipping, or piercing the stucco. The best option depends on the texture of the surface and whether you have an edge to work with. Start by looking at the spot you have, then match the clip to that area.
Do not drill into stucco. And do not use indoor adhesives outdoors.
Outdoor Adhesive Clips for Flatter Stucco Areas
Outdoor adhesive clips work best on flatter stucco sections, such as entryways and garage trim. They keep lights neat and close to the surface, which gives you a clean, low-profile look.
Stucco or Brick Clips for Trim, Ledges, and Seams
If the stucco meets trim, a ledge, a seam, or a parapet with an edge, stucco or brick clips are often the safer no-drill option. Instead of sticking to the wall itself, these clips grip the edge.
Match the surface to the safest mounting method below.
| Method | Best For | Note |
|---|---|---|
| Outdoor Adhesive Clips | Flatter stucco areas | Works well around entryways and garage trim |
| Stucco/Brick Clips | Trim, ledges, seams, and parapets | Grips an existing edge instead of the wall surface |
Use the method that fits the surface, not the light strand. After that, map out the layout and the power run.
Plan Your Layout and Power Setup Before You Start
Once you know whether you're using adhesive clips or stucco clips, plan the route before you install anything. Figure out the layout and cord run before you get on the ladder. Measure the full path first so the lights fit neatly and the cord reaches the outlet without tension. A little planning up front helps you avoid cracked stucco, loose cords, and crooked lines later.
Map Rooflines, Windows, Doors, and Stucco-Safe Attachment Points
Walk the perimeter and mark rooflines, windows, doors, and outlets. Follow the rooflines, windows, doors, and trim so you can spot stucco-safe attachment points that fit the mounting method you picked. Lay the strand out on the ground first, measure the run, and make sure the length matches the distance you need to cover. Once the route is mapped, line up the cord path with it so the display looks neat and stays secure.
Use Lightweight LED Strands and Outdoor-Rated Extension Cords
Use outdoor-rated extension cords and place them so they reach outlets without stretching across walkways or pulling on the light strand. Keep cords from tugging on clips or sitting where they can wear down the stucco finish. Lightweight LED strands put less pull on clips and help the lights stay in place. With the route and cord layout set, installation goes faster and looks cleaner.
How to Install Christmas Lights on Stucco Step by Step
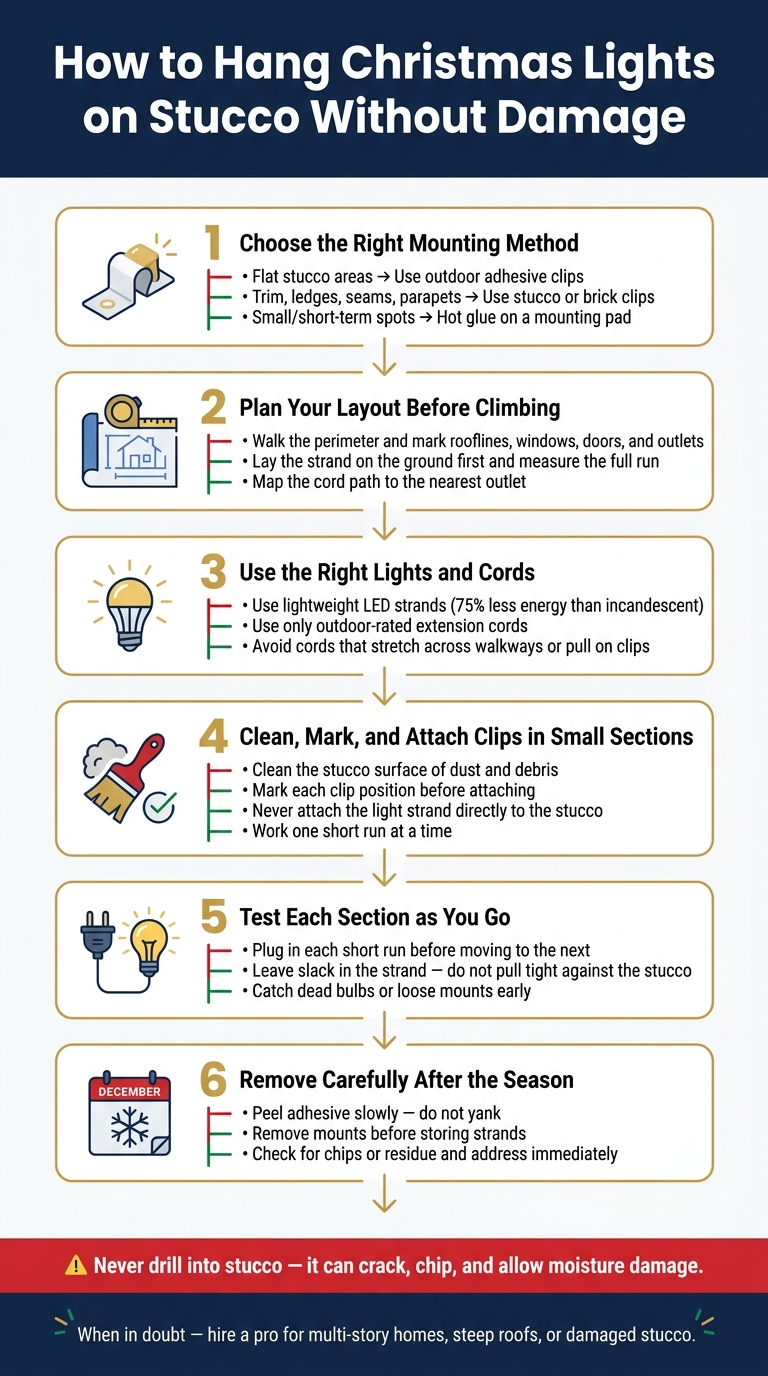
How to Hang Christmas Lights on Stucco Without Damage
Once your layout is planned and the power path is set, begin at the point farthest from the outlet. Work in short sections. It gives you more control, helps protect the stucco, and makes the final line look clean and even.
Clean, Mark, and Attach Clips or Glue in Small Sections
Start with a stucco surface that's clean and free of dust and debris. Before you attach anything, mark where each clip will go. Then install one short run at a time so you can check the spacing and fix small issues before they turn into a crooked line.
The big rule here is simple: never attach the light strand straight to the stucco. Every connection point should sit on a clip or a glued mounting pad. That keeps pressure off the surface and cuts down the chance of damage.
Test Lights as You Go and Avoid Pulling Against the Stucco
After you attach each short run, plug it in before moving to the next section. That small step can save a lot of hassle later. If there's a bad bulb or a dead section, you'll catch it early instead of tracing the problem after the whole strand is up.
Also, don't pull the strand tight. Leave enough slack so the lights sit in place without tugging against the stucco finish. If the strand is under tension, the mounts have to work harder, and that's when things can start to shift.
Remove Lights Carefully After the Season
When the holidays are over, take the lights down with the same care you used to put them up. Remove the mounts before storing the strands, and go slowly with each section.
Peel adhesive off little by little instead of yanking it free. That's the best way to avoid pulling up part of the stucco surface. As you work, check for any chips or leftover residue so you can deal with them right away.
Conclusion: Protect Your Stucco and Know When to Call a Pro
Stick to the basics: don’t drill into the stucco, keep weight and pull off the surface, and use a mount that fits the spot. That’s how you keep stucco from getting chipped or cracked during the holiday season.
The mount makes the biggest difference. For short-term light hanging, adhesive clips, stucco or brick clips, and hot glue are often the best fit.
When to Hire a Professional for Holiday Light Installation
Bring in a professional, such as ViewCrew Services, if the job is too high, the roof is too steep, or the stucco already has damage. Multi-story homes, tricky rooflines, and older stucco with cracks raise the chance of damage. Even a small amount of pulling can chip brittle stucco, which is exactly the kind of risk a professional holiday light installation crew is trained to avoid.
FAQs
Will adhesive clips stick to rough stucco?
No. Standard adhesive clips usually don’t hold well on rough or textured stucco. The surface is uneven, so the adhesive can’t make solid contact.
A better option is to use stucco clips that attach by grip instead of glue. If you need something short-term, hot glue can also work and is often easier to remove later. Plain adhesive clips are more likely to fall off or pull at the finish.
How far apart should I place light clips?
Place light clips about 12 to 18 inches apart to keep Christmas light strands secure and help prevent sagging.
That spacing helps spread the weight of lightweight LED strands more evenly, which puts less pull on adhesive clips. It’s also smart to test a small area first, just to make sure your mounting method sticks well to your stucco texture.
Can I hang lights on damaged stucco?
No. You should not hang Christmas lights on damaged stucco.
Cracks or crumbling spots mean the surface is already weakened, and hanging lights can make things worse. The extra stress, trapped moisture, or weight from clips and adhesives can all add to the damage. Fix the stucco first to help protect your home's exterior and keep the problem from spreading.